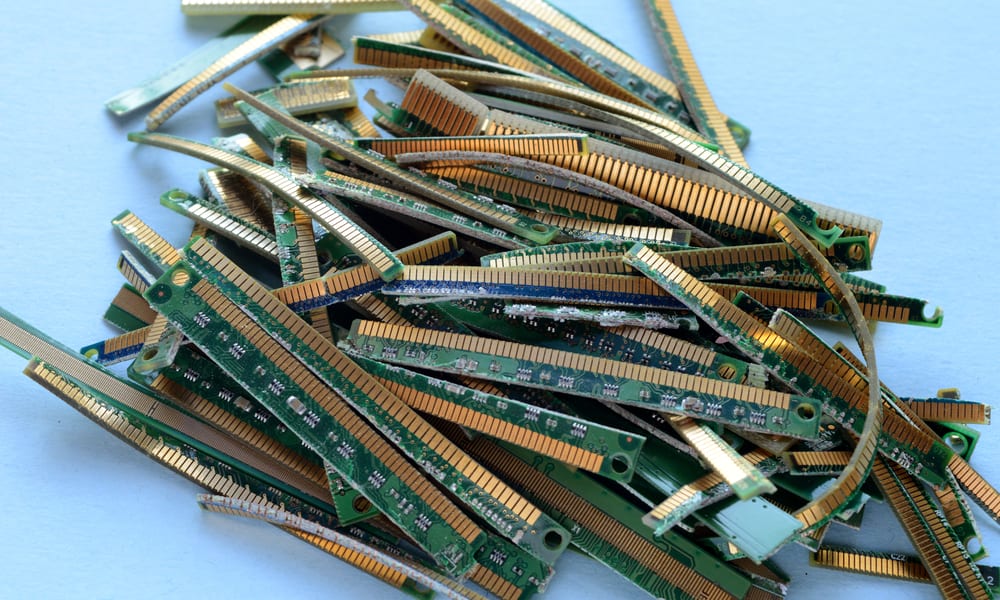

Are you looking to mine your old computer for gold? This project will not make you rich, but it is a fun and great way to put your e-waste to use. Gold is used in electronic devices because it is durable, has good electrical conductivity, and is less prone to corrosion. You will find traces of the precious metal on internal modems, drives, random access memory chips, motherboards, and central processing units.
In this article, I will show you how to get gold from computer parts without chemicals. There are other ways to do it but using common household materials is by far the safest method. So, let’s get started.

Follow these steps to extract gold from old computer parts.
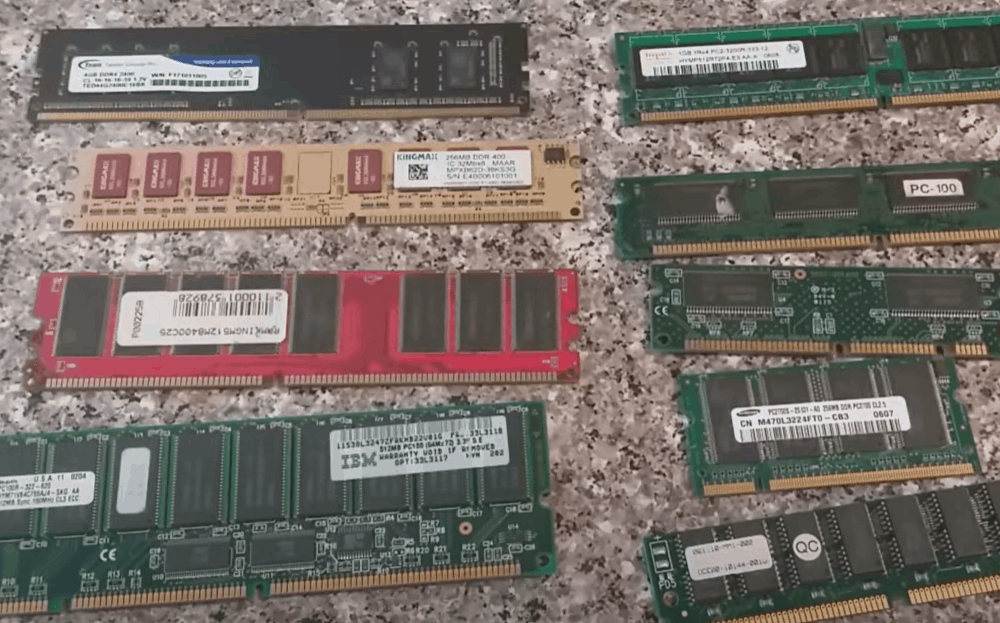
The best parts to use in this experiment are printed circuit boards, motherboards, central processing units, random access memory chips, drives, and other internal modems.
Identify areas with gold color on these parts and strip the surrounding plastic. You should have more gold-colored components than plastic to extract a sizeable amount of gold. Break the parts into small bits to fit in a beaker and submerge under the stripping solution.
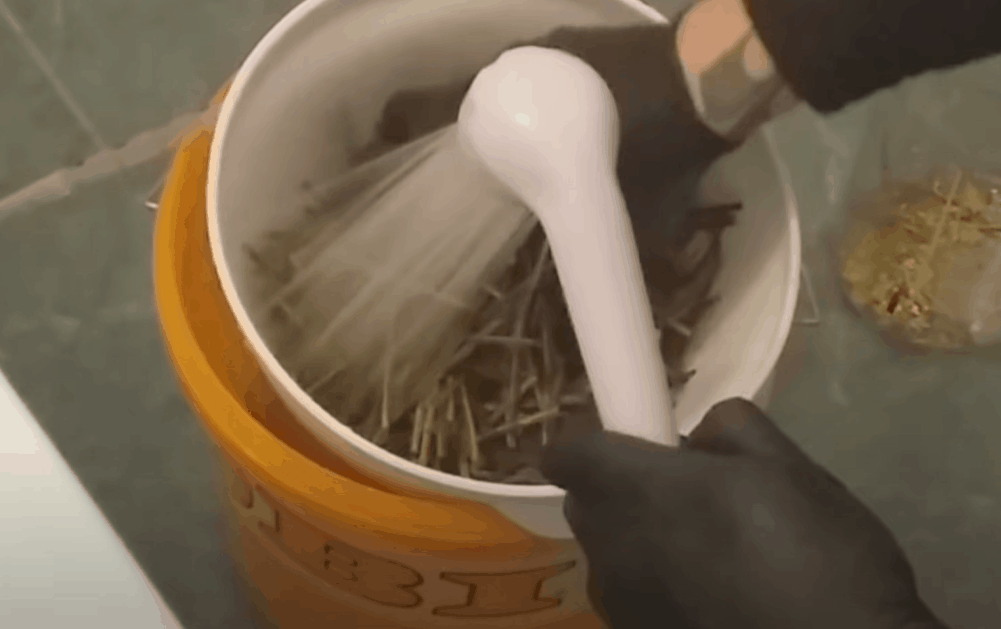
Clean the computer parts under a tap of running water to remove any dust or residual plastic—air-dry the components before beginning the process of extracting gold.
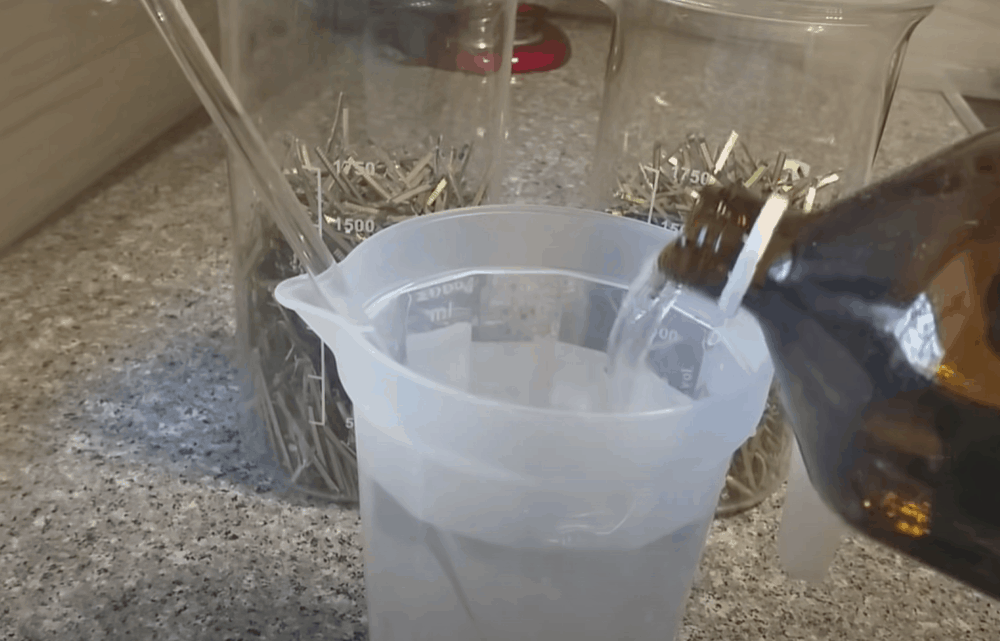
In this experiment, we will use a mixture of sea salt, vinegar, and hydrogen peroxide. Others elsewhere might recommend using toilet bowl cleaner and hydrogen peroxide to do the same job.
For now, let’s use the salt and vinegar method. To get started, add the sea salt into a beaker, pour the vinegar in, and stir until the salt dissolves. Vinegar and salt form a powerful, but non-corrosive stripping solution needed to etch out the tiny gold particles on the computer parts.
Take another glass beaker and insert a tube connected to an air pump. This setup will help to circulate oxygen and remove unwanted gas from the stripping solution.
You need enough oxygen to ensure that the solution strips as much gold from the electronic parts as possible. Next, add the e-waste to the beaker to hold down the oxygen tube and keep it from shifting around
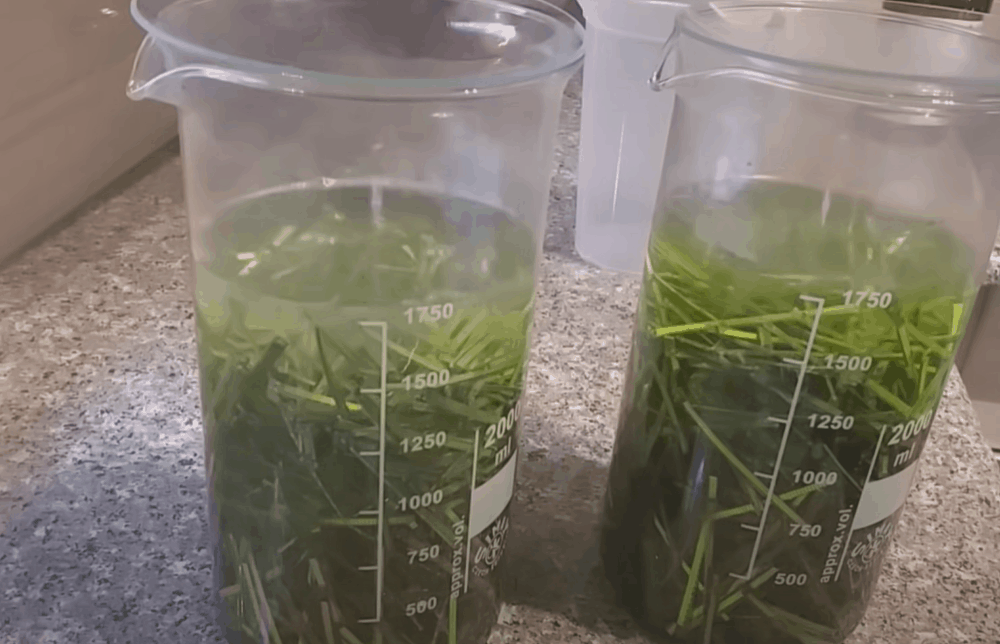
After placing the e-waste into the beaker, add the stripping solution of vinegar and salt into the beaker. Do this slowly, ensuring that all the computer parts are fully submerged in the solution.
Next, add hydrogen peroxide. Be extremely careful as you do this, as hydrogen peroxide can be corrosive. Then, cover the beaker and let the solution bubble for 24 hours.
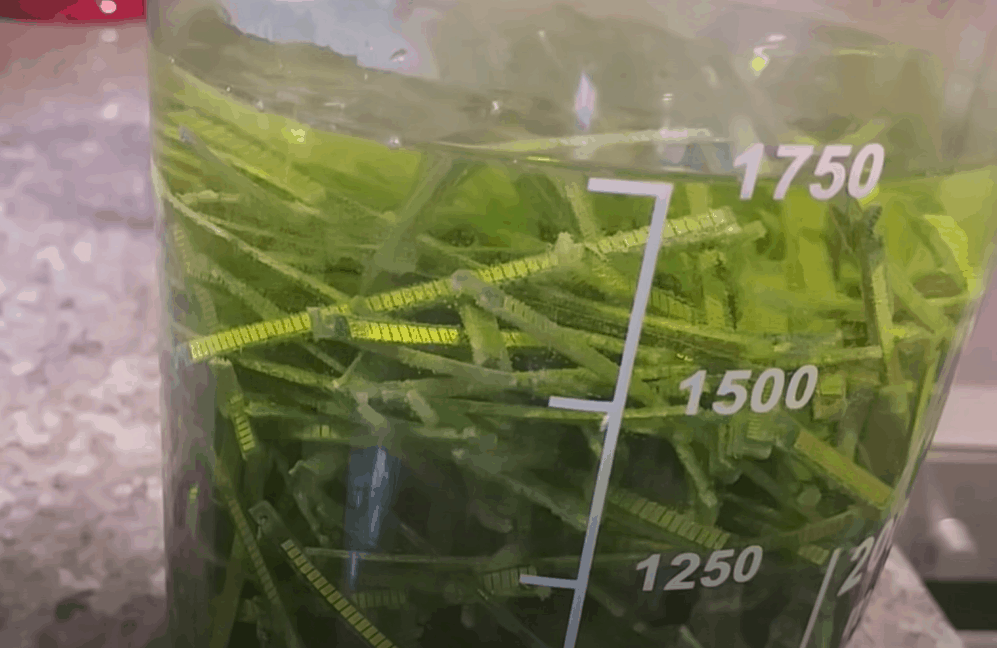
After 24 hours, check on your experiment and stir the solution. You might notice that the solution has turned light blue, but more importantly, you will start to see tiny gold foils floating around.
Let the solution bubble for an additional 48 hours. I recommend stirring every couple of hours to check that the quantity of gold foils is increasing.
You can sieve and separate the gold foils from the solution, but the longer you soak the electronic parts, the more gold you’ll extract.
It is now time to separate the gold foil from the solution. If you soak the electronic parts for a couple of days, you will notice that the salt, vinegar, and peroxide solution gets thicker. Don’t worry; you will still be able to fish out the tiny strips of gold extracted from the computer parts.
Place a fine wire mesh strainer over a bucket and pour the stripping solution through the strainer. Leave the computer parts at the bottom of the beaker; you will discard them once you have removed from them as much gold as possible.
Each time you sieve, transfer the gold foils to a clean bucket containing clean distilled water. Take your time and harvest the maximum amount of gold.
Pro tip: Rinse the beaker with a small amount of water to get any remaining gold foils at the bottom and sides of the beaker. Keep adding water to the computer parts in the beaker and sieving until you strip most of the gold from these parts.
Once you have a good amount of gold foils in the main bucket, it is now time to decant the material into a smaller beaker.
Pour out all the contents of the bucket. Let the solution settle at the bottom of the beaker. Then, pour out the water, leaving the foils behind.
Pro Tip: Use a pipette to remove any remaining liquid in the beaker containing the gold foils. You want to ensure that the foils are moisture-free before attempting to melt them.
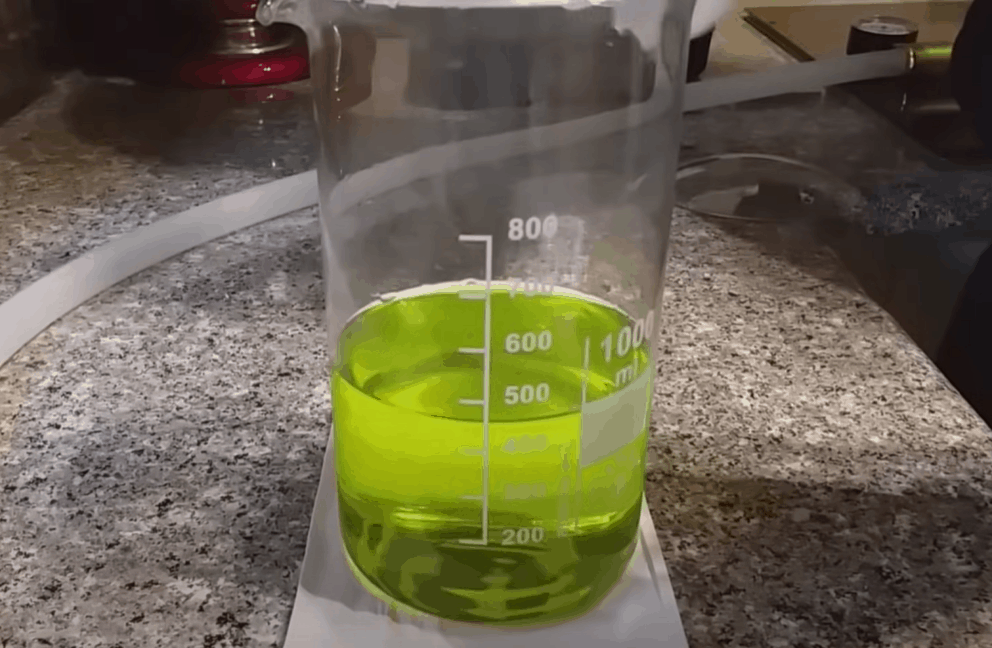
Prepare a buffer mixture of vinegar and sea salt. This solution will protect the foils from direct contact with bleach and heat when converting the foils into gold particles.
To prepare the solution, mix 120 ml white vinegar with four tablespoons of sea salt and stir until the salt dissolves. Decant the liquid into a separate beaker.
Ensure that the solution remains slightly acidic. Ideally, you should be aiming for a pH of 4.5 to 5. To check, drop a pH test strip into the decanted solution.
If the solution is too acidic, add a pinch of sodium bicarbonate to bring the solution to the desired pH level. Continue adding sodium bicarbonate bit by bit until you achieve the required pH.
The next step in extracting gold from e-waste is to dissolve the gold foils in preparation for melting later on.
Once you are satisfied with the pH level, add the vinegar and salt solution to the beaker containing gold foils. Cover the beaker and place it on low heat.
Using a pipette, add a few drops of bleach to the gold foil solution you have placed on the heat. Continue adding bleach in small increments until the foils dissolve and the liquid turns light green.
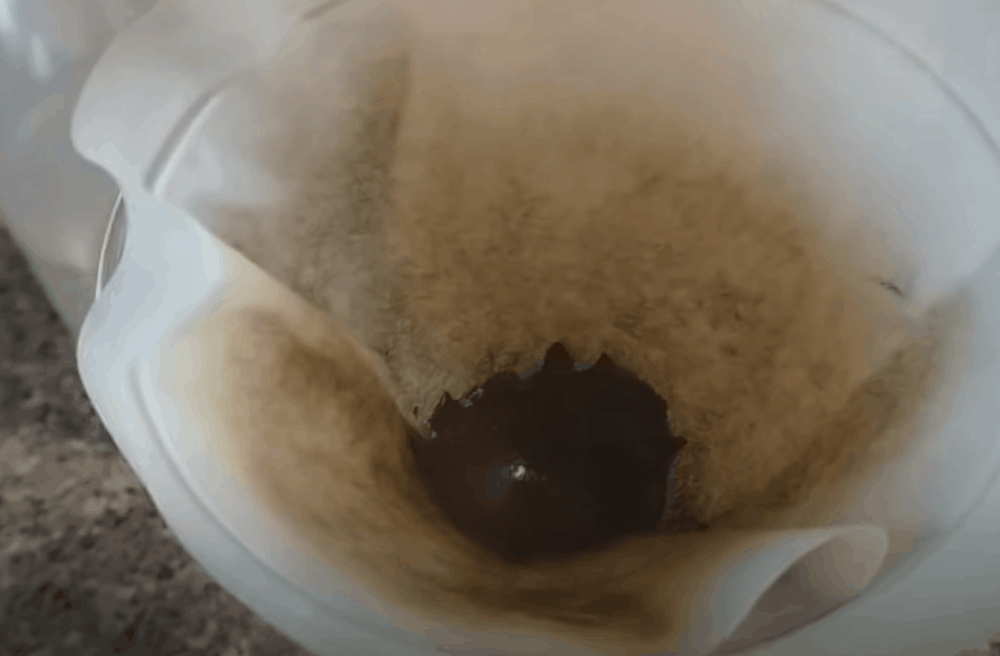
Leave the solution containing gold foils to evaporate on low heat. The level of the solution will reduce with time, which indicates that evaporation is taking place.
Add vitamin C, also known as ascorbic acid, to the solution before it evaporates completely. Add the ascorbic is small increments as you stir the solution. Ascorbic acid helps to precipitate the gold in preparation for melting. When this happens, the light green solution will turn brown.
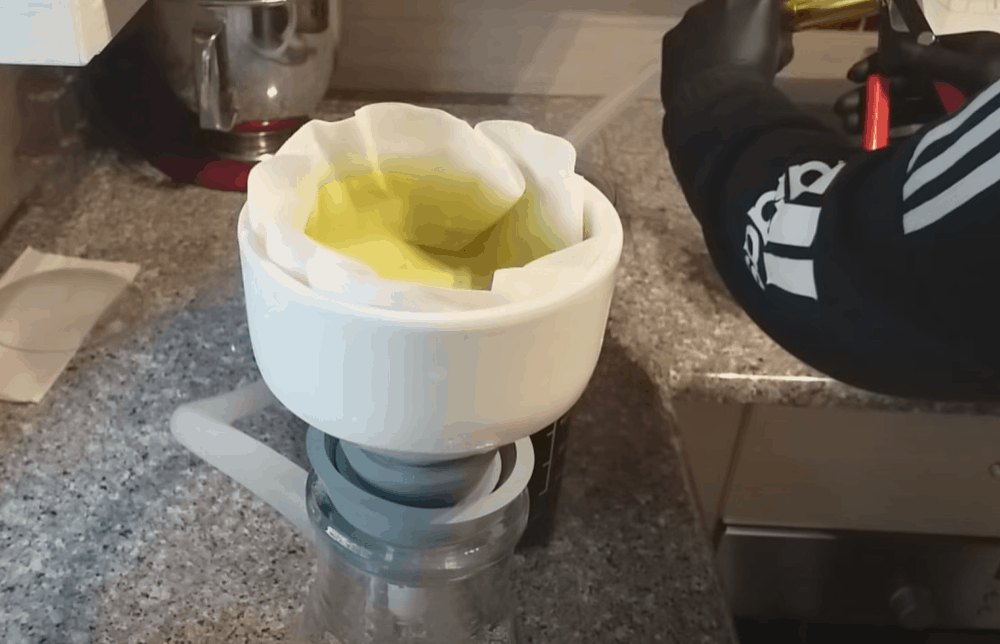
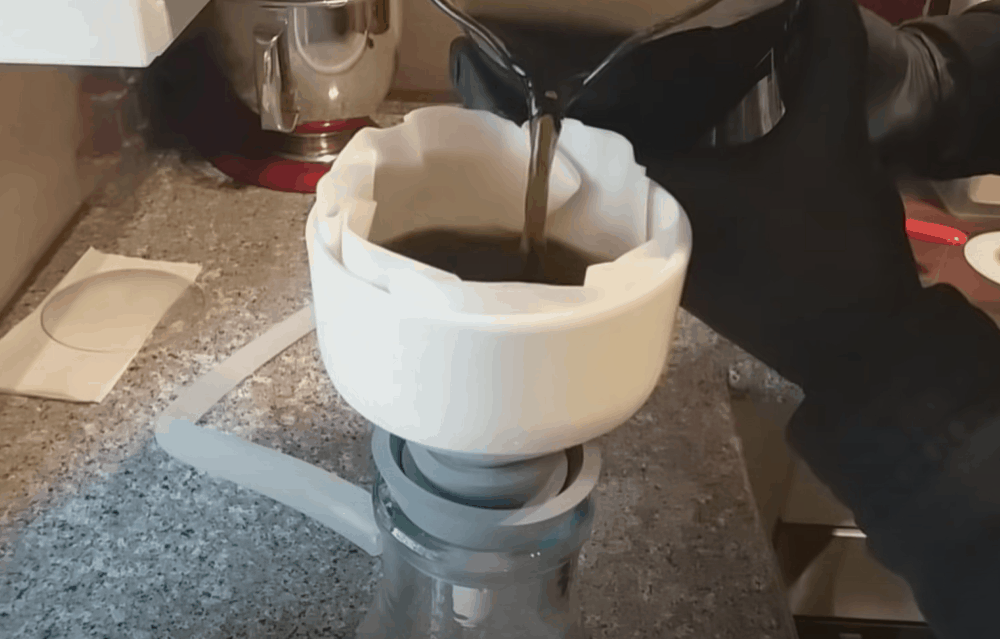
Once the gold has precipitated, it is now time to separate it from the solution. Place a coffee filter on the opening of a funnel beaker and pour the solution through the filter.
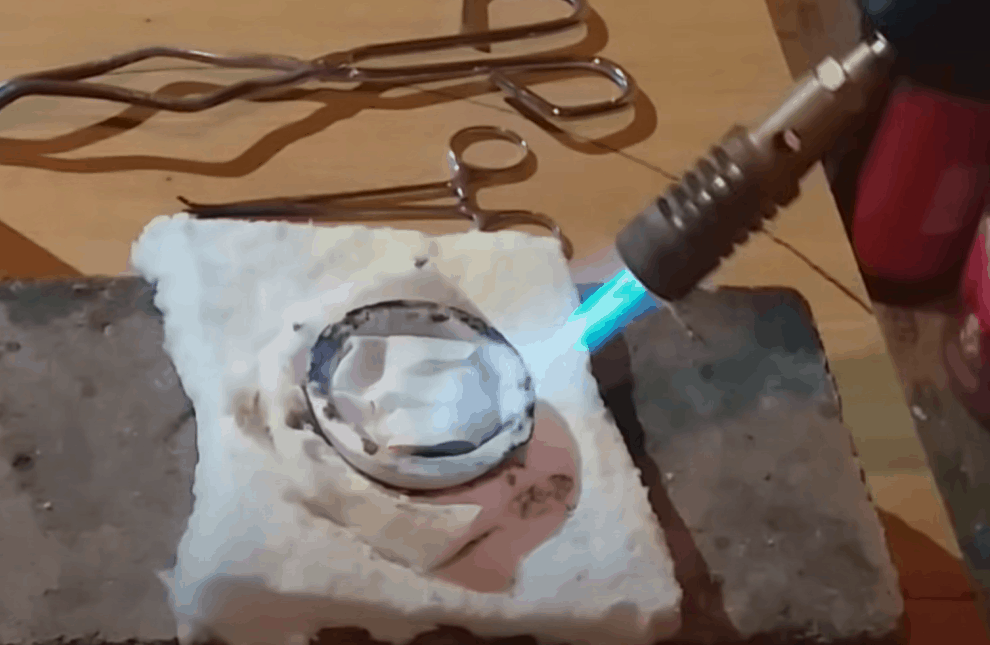
Set the barren solution aside and place the filter containing the gold foils in a melting dish. Direct a propane torch toward the melting dish to melt the foils. The filter will burn but continue applying direct heat to the foil residues.
Heating will cause the tiny foil particles to solidify into one small golden ball. Continue heating until you have a solid ball.
Then, let the ball of gold cool. At this point, you can weigh the piece of gold to see how much you have extracted.
Congratulation on producing your first carat of gold! As you can see, the process is quite time-intensive, but if you are a fan of science experiments, this one is definitely worth it. In the end, you will need to use chemicals if you were to get at least some amount of gold from computer parts.
Fortunately, all you need for this experiment is products that you already use in your household. Still, you should be extremely careful and wear protective gear when handling any type of chemical. We hope you enjoyed this tutorial. Leave us your comments below!
Sharing is caring!